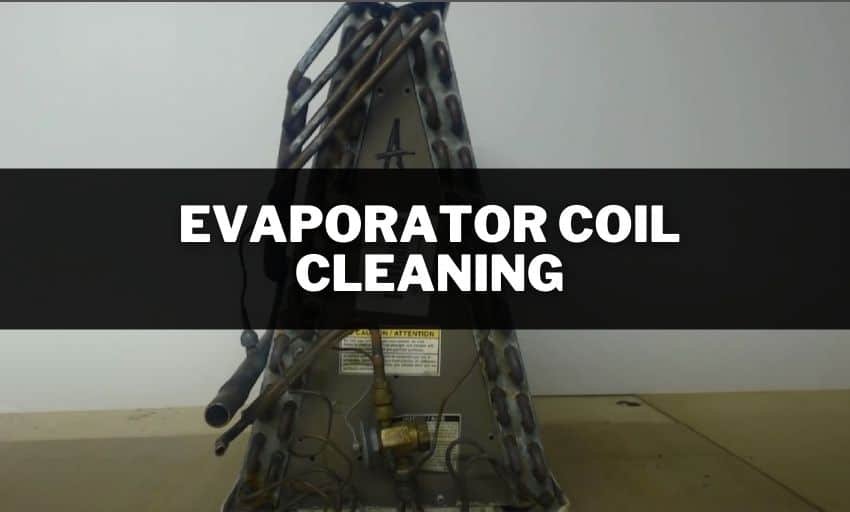
The evaporator coil is an essential part of the AC system that absorbs indoor air heat. It comes either inside the air handler or attached to the furnace. The evaporator coil functions with a condenser coil to complete the heat exchange system and emits cool air.
The coil is a significant component of the HVAC system. You should not leave it dirty. A dirty and dusty evaporator coil does not absorb heat from air properly, and the refrigeration system starts malfunctioning.
If the situation prolongs, your air conditioner will stop evaporation and passes into the compressor in a liquid form. This process is known as liquid slugging.
Impact Of Dirty Evaporator Coil On AC:
- Lowers transfer of heat and cooling ability deteriorated
- More BTU consumption led to higher energy bills
- Improper temperature management and pressure on the system
- Eventually, system failures, parts damage, and reduced operational life
So, it is important to keep your evaporator coil clean and tidy for efficient operation of the machine and durable performance for years of comfort with minimum repairs and maintenance calls.
How To Clean an AC Evaporator Coil at Home?
After establishing the importance of cleaning the evaporator coil, the next thing to consider is how to clean the system and is it possible to clean it without removing it from the unit?
Follow the steps and clean the AC Evaporator coil with the DIY method at home comfortably.
Step 1: Switch off the Air Conditioner
Switch off the thermostat and system to start working on the coil cleaning. It is a safe option that you must follow to avoid unnecessary risks while cleaning.
You should switch off the machine generally about one hour before cleaning. In Summers, perform cleaning during the colder time to use it when the Sun becomes warmest for the day.
Most companies provide Heat/off/Cool options on thermostats these days. Choose the suitable options as you require.
Step 2: Open the Evaporator Coil
Open screws on the panel with a reliable and strong screwdriver. Some panels come with knobs or twist levers. For safety and avoid falling of panel, keep one hand against it while opening the coil.
To stop air leaks, you should be extra careful about aluminum foil tape available with some panels. You must seal the panel of the furnace after cleaning the coil.
Aluminum foil tape prevents air leaks, heat wastage, and disturbing ‘’whistling’’ noise when air gets sucked through them. Evaporator coils are available in N-shape, A-shape, and a few other shapes.
Step 3: Use no-rinse Coil Cleaner for the Fins
Foaming coil cleaners are the best way to clean evaporator coils most effectively and conveniently. You can easily use it at home and do not require to rinse.
It is advisable to read ingredients and compounds used to avoid harmful chemicals. These chemicals could be hazardous for you and your family.
Spray a standard quantity of cleaner for coating on the evaporator coil. The solution will foam up and starts breaking down the grime and grease. As this happens, the foam starts decreasing, and the liquid flows down the drain pan.
Wait for the cleaner to run off around fifteen to twenty minutes before applying the second coating.
If you own a pet, apply compressed air to sweep off pet fur from the evaporator coil before using the cleaner. To operate the compressor method, blow the air from clean side to dirty side, opposite to the average airflow direction
Step 4: Use Brush for Stubborn Debris in the Coil
Sometimes debris remains stuck on the evaporator coil, even after cleaner coats. To clear them, use a brush with soft and gentle bristles.
Browse and choose the brush with the right size and softness to not damage the fins. Avoid brushes with hard bristles and cable brushes.
Do not scrub; try and remove debris gently from the coil with a brush. Brush for coil cleaning helps in removing small particles, accumulations in corners, etc. In addition, brushes can be handy in using liquid and similar substances with a deep cleaning to every portion of the evaporative coils.
Step 5: Give Finishing Touches and Turn-on the Air Conditioner
Wrapping up the cleaning procedure is as crucial as any other step. It would help if you did not leave any scope for air leakage and heat wastage. All screws should be in their right places and re-check all the corners to clear any missed small accumulations of dust and debris.
Once verified by yourself, put back the access panel into the cabinet and inside cover in its place. Apply aluminum foil tape to ensure no air leakage with significant savings on the utility bills.
Heavy-duty Cleaning of Evaporator Coils
If your evaporative coils are extremely soiled to affect air conditioning severely, you need heavy-duty cleaning. It requires strong chemicals and professional help.
Assess the situation and call for expert AC cleaning services for acutely dirty coils because you might need to use a steam cleaner or force washer.
Heavy-duty cleaning might also require replacing the coil, cutting and re-attaching refrigerant channels, refilling the refrigerant system, replacing the vacuum, etc.
You need professional support to perform these advanced techniques. Consult your local HVAC contractor. They will assess the problem and clean your evaporator coil with the latest tools and techniques.
Conclusion
The air conditioner provides a comfortable and cool indoor experience. The evaporator coil plays a crucial role in ac proper functioning. A clean coil works efficiently to reduce energy consumption and facilitates lesser utility bills. Keep it clean and enjoy a comfortable stay and significant savings on energy bills monthly.
Related Articles You May Like
